REQUIRED ROLE: District Content Admin, Campus Content Admin, or ESC Content Admin
SITE ACCESS: System Management > Reporting
NOTE: If you cannot see the link to Reporting in System Management and believe you should have access, please contact your district administrator or ESC representative.
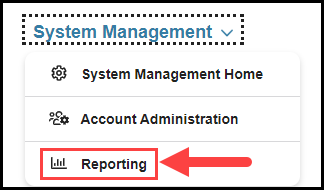
Click on the System Management drop-down in the site's main navigation menu, and select the Reporting option.
This will take you to the landing page for the Reporting tool where you will select the report you would like to run. Click on the View Report button for the My Calendar Tool Report.

You will first need to make some selections before you can generate the report.
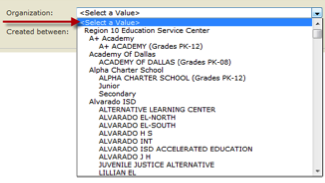
Organization: If you are a District Administrator, you will be able to select a specific campus within your district or generate a report for all campuses within your district. Use the drop-down menu for organization to select the appropriate organization that you want to generate the login report for at this time.
Role: You can choose to include users with only certain roles in your report by using the Role drop-down as a filter, or you can leave it at All to see all roles that users within your organization may have.
Start and End Dates: You can click on the calendar icon to select specific start and end dates.

You can also check the box in front of Null to generate a report that includes all logins for the selected organization (without being specific to a selected duration/timeframe.

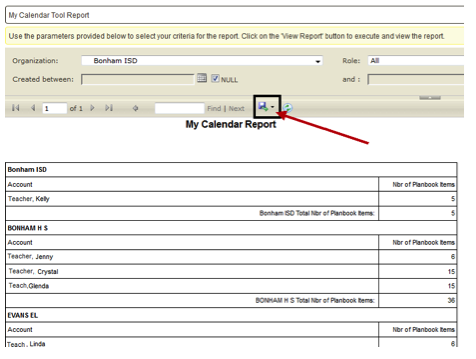
Once you have selected the appropriate parameters for your report, click the View Report button located to the right of the screen.

Once you click View Report, the report will display. In this report, you can see the number of items that each user inserted into his/her planbooks.
If you generate the report at the district level, you will see information for planbooks that exist for users at the district level, as well as any items on planbooks that exist for users at each campus within the district.

There are a number of functions that you can perform using the report you generated.
Exporting Report: You can export the report to a variety of formats, such as a PDF or Excel by clicking the Save button in the toolbar.
This will open a drop-down that allows you to select the format of the file you want to generate.
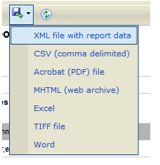
Click on the desired format type, such as Excel, and a dialogue box will open and ask if you want to open or save the file. Click the OK button.
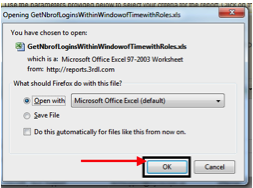
The selected application will open or save the report you created.