Items can be added to the Planbook from TEKS RS or District Content and personally created content using the Add Content and Add My Content buttons provided on the calendar view.
SITE ACCESS: Tools > My Calendar
Locate the existing desired calendar, click the Options button, and select Edit.

In your Calendar, click the Add Content button on the left side of the calendar view, to add TCMPC or District-created content.

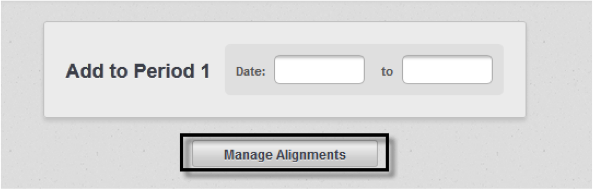
Select the dates for which you would like the content to display and then click the Manage Alignments button. (Note: You will be able to modify the dates after selecting your content.)
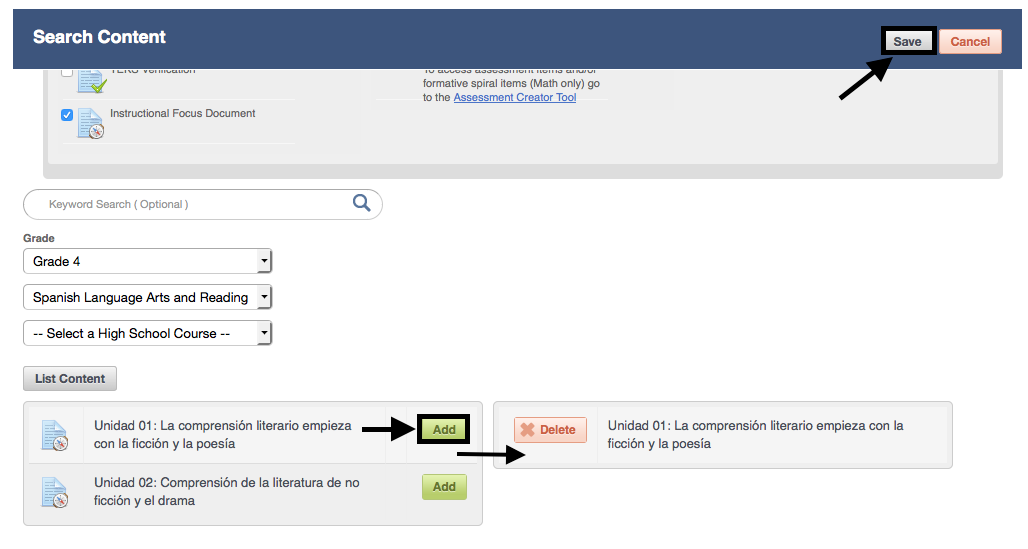
Select the component type(s) you would like to add to your calendar. Use the drop-downs to filter by grade level, subject area, and course (for High School courses only). Click the List Content button to display available components.
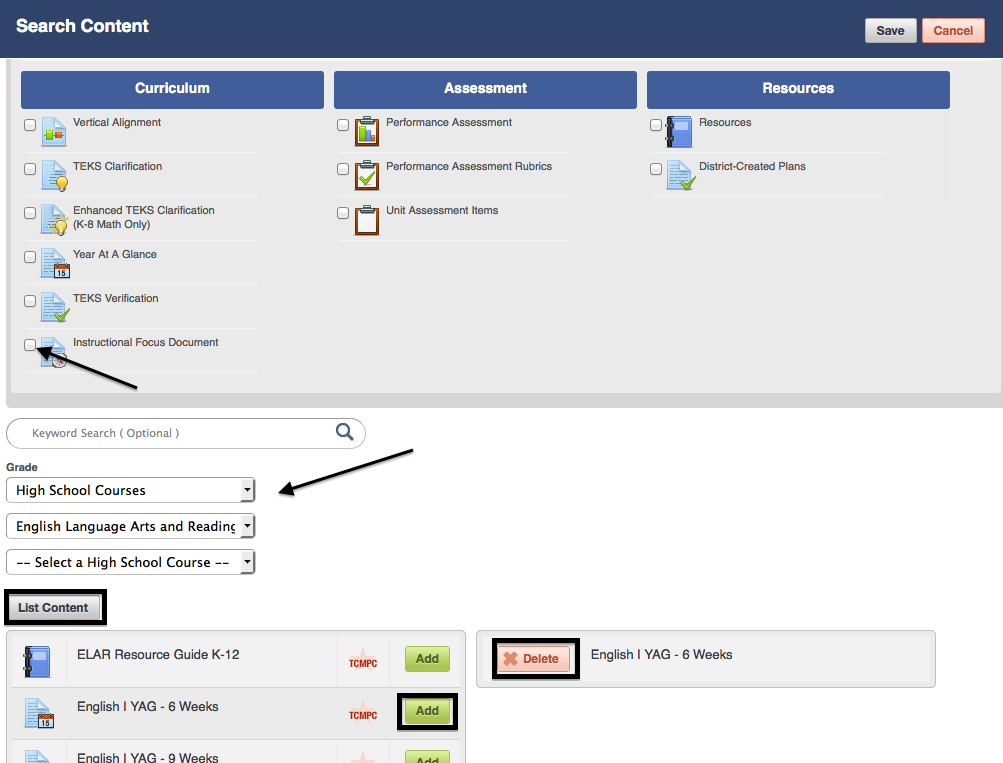
NOTE: Since both types of components could appear in the result list, the system includes a TCMPC icon ![]() to the right of the TEKS RS-created component title. The District-created components DO NOT have an icon to the right of the title.
to the right of the TEKS RS-created component title. The District-created components DO NOT have an icon to the right of the title.
To Add a component, click the Add button. Components that are selected will appear in the right column. To delete a component, click the Delete button. Click Save.
To exclude any TEKS RS components from your search, and find District-created content only, select the View District Content Only checkbox above the component type search filters.

This will tell the system to return only the District-created content, as indicated by the district name in the title of the component and lack of a TCMPC icon next to the record.
Any components you have added will be displayed in a list. Click on the dates to modify (if necessary) and then click Save.
To add your own customized content, click the Add My Content button

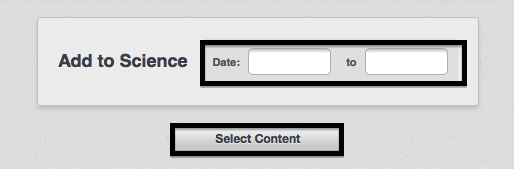
Select the dates for which you would like your personally created content to display and then click the Select Content button. (Note: You will be able to modify the dates after selecting your content.)
To select the personally created/edited content you would like to add to your calendar, use the tabs labeled My Plans, My IFDs, and My YAGs to filter by component. Click the List Content button to display available District Content. Click on the Add button to gather items in your queue and then click the Save button.

Any personally created items you have added will be displayed in the right column. Click Save to add the items to your selected dates.
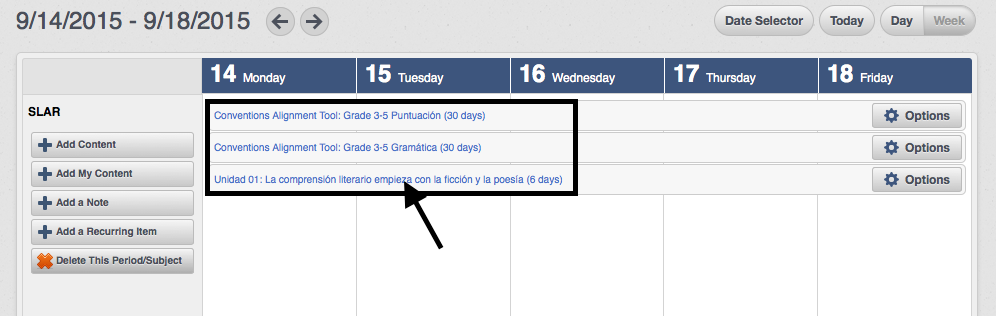
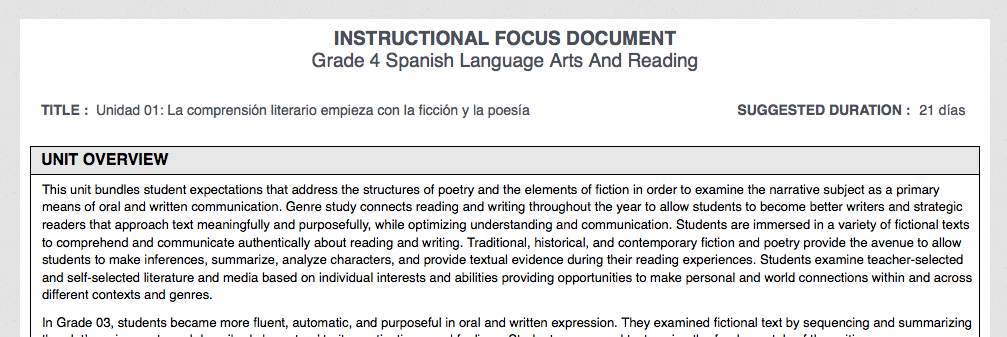
Content added to your calendar will appear on the dates selected. You can access each item right from your calendar by clicking the title.