Districts may wish to share external documents and files with its users as district-wide resources. Such resources can be stored in a folder structure and made available to users as necessary.
Authorized individuals can create district folders and upload files that can then be published for district use.
REQUIRED ROLE: District Content Admin
SITE ACCESS: System Management > District Resources
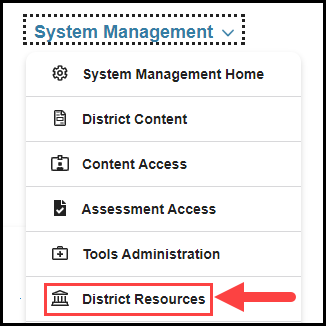
Click on the System Management drop-down in the site's main navigation menu, and select the District Resources option.
The District Resources landing page displays folders and sub folders that have been set up, with expand (+)/collapse (-) capability to the left of each folder.
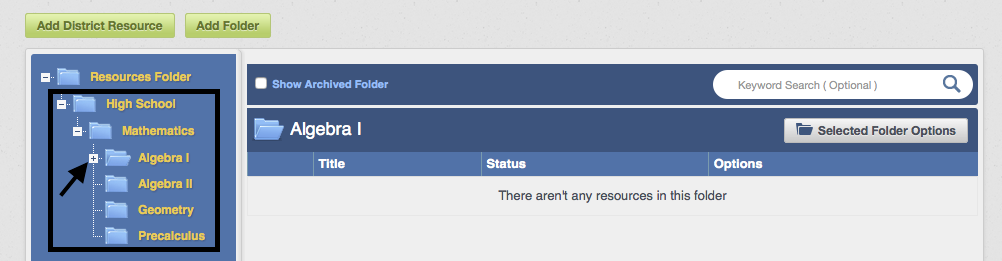
From here, you can Add District Resources (i.e. upload .doc, .pdf, .ppt, .xls, .png, .mp4, etc. files) or Add Folders using the buttons provided.

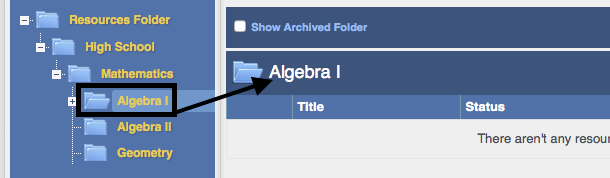
Drag and drop functionality is also available, allowing the admin to click & drag sub folders to a different location.


Whenever a folder is selected, the folder name appears at the top of the resource list section.
After clicking on a folder, the Selected Folder Options button appears to the right. Clicking this provides a menu of available options for the folder.

The following options are available:
- Add Sub Folder - adds a sub folder directly to the selected folder
- Edit - changes the name of the selected folder
- Publish Contents - publishes all files uploaded to a folder at once, rather than publish each file separately
- Take Contents Offline - unpublishes all items in a folder at once, this removes the resources from district user view on the District Resources tab
- Archive Folder - unpublishes the folder contents and removes the folder from district user view, but remains in the system for future use
- Delete - removes the folder and its items from the system
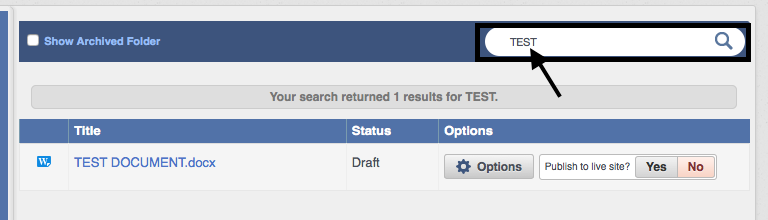
Once items have been added to folders, a Keyword Search field is provided to help narrow your search.
![]()
Type in a keyword and click the magnifying glass to search. The search will return published (live) and unpublished (offline) items